Manage bookings yourself
You can create, reschedule, or cancel any booking from your booking dashboard
Create a booking
Use this when a customer calls/texts instead of booking online.
Typical flow
-
Log into your OnBooq Portal
-
Go to your Bookings module tab (from left side menu)
-
Click 'Manage Bookings' to open your booking dashboard
-
Use the credentials provided to access Booking dashboard
-
Create a new booking
-
Enter the customer details (name + contact)
-
Select service + date/time
-
Save
-
The customer receives a confirmation message (based on your notification settings)
Reschedule a booking
Use this when you need to move jobs due to staffing, weather, or route changes.
Typical flow
-
Log into your OnBooq Portal
-
Go to your Bookings module tab (from left side menu)
-
Click 'Manage Bookings' to open your booking dashboard
-
Use the credentials provided to access Booking dashboard
-
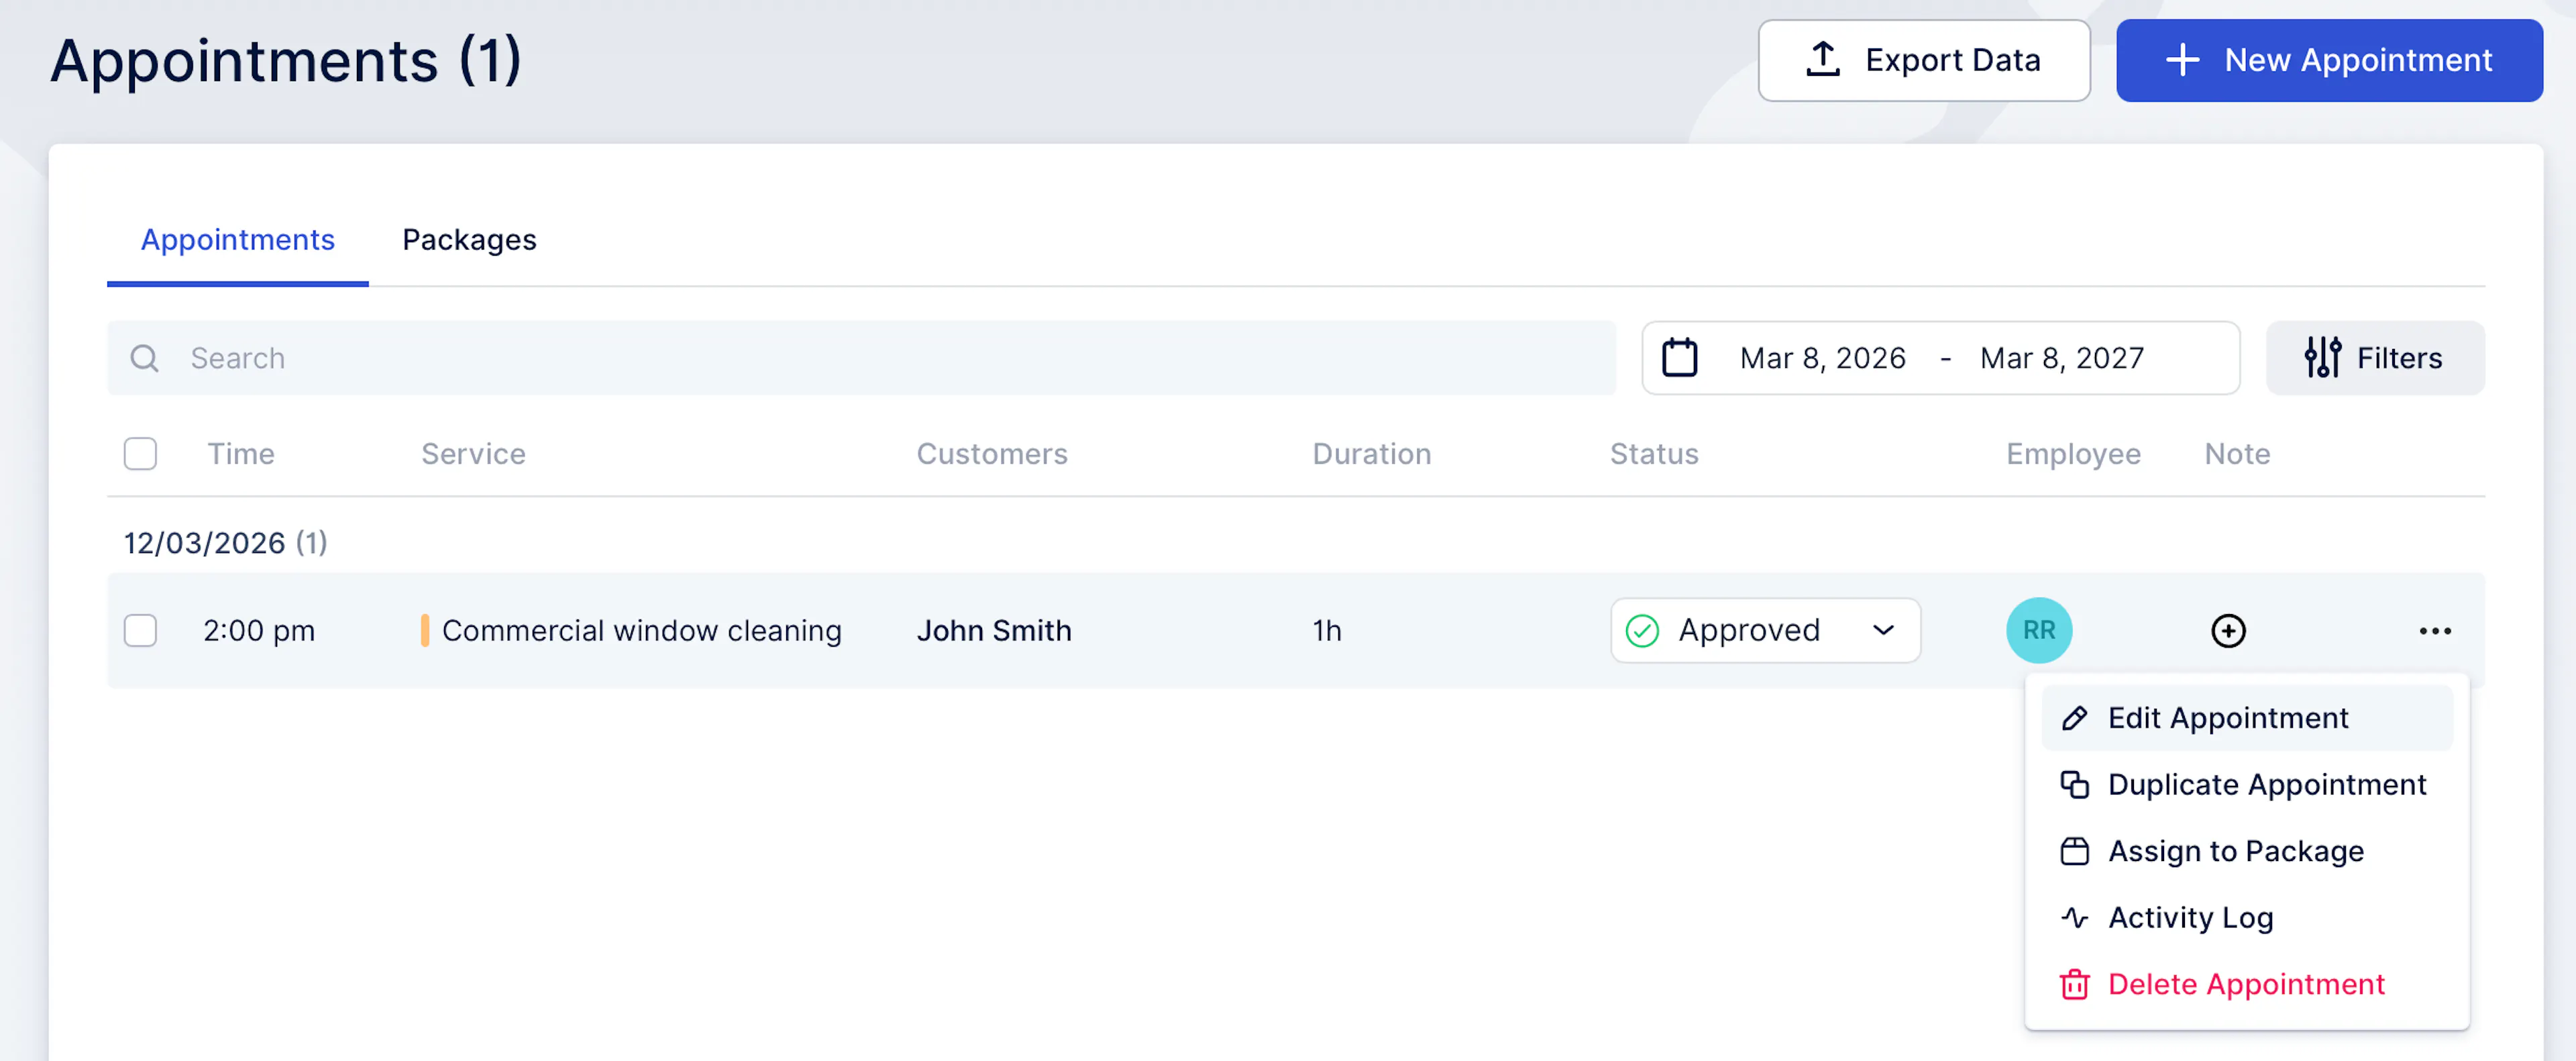
Open the booking in your dashboard
-
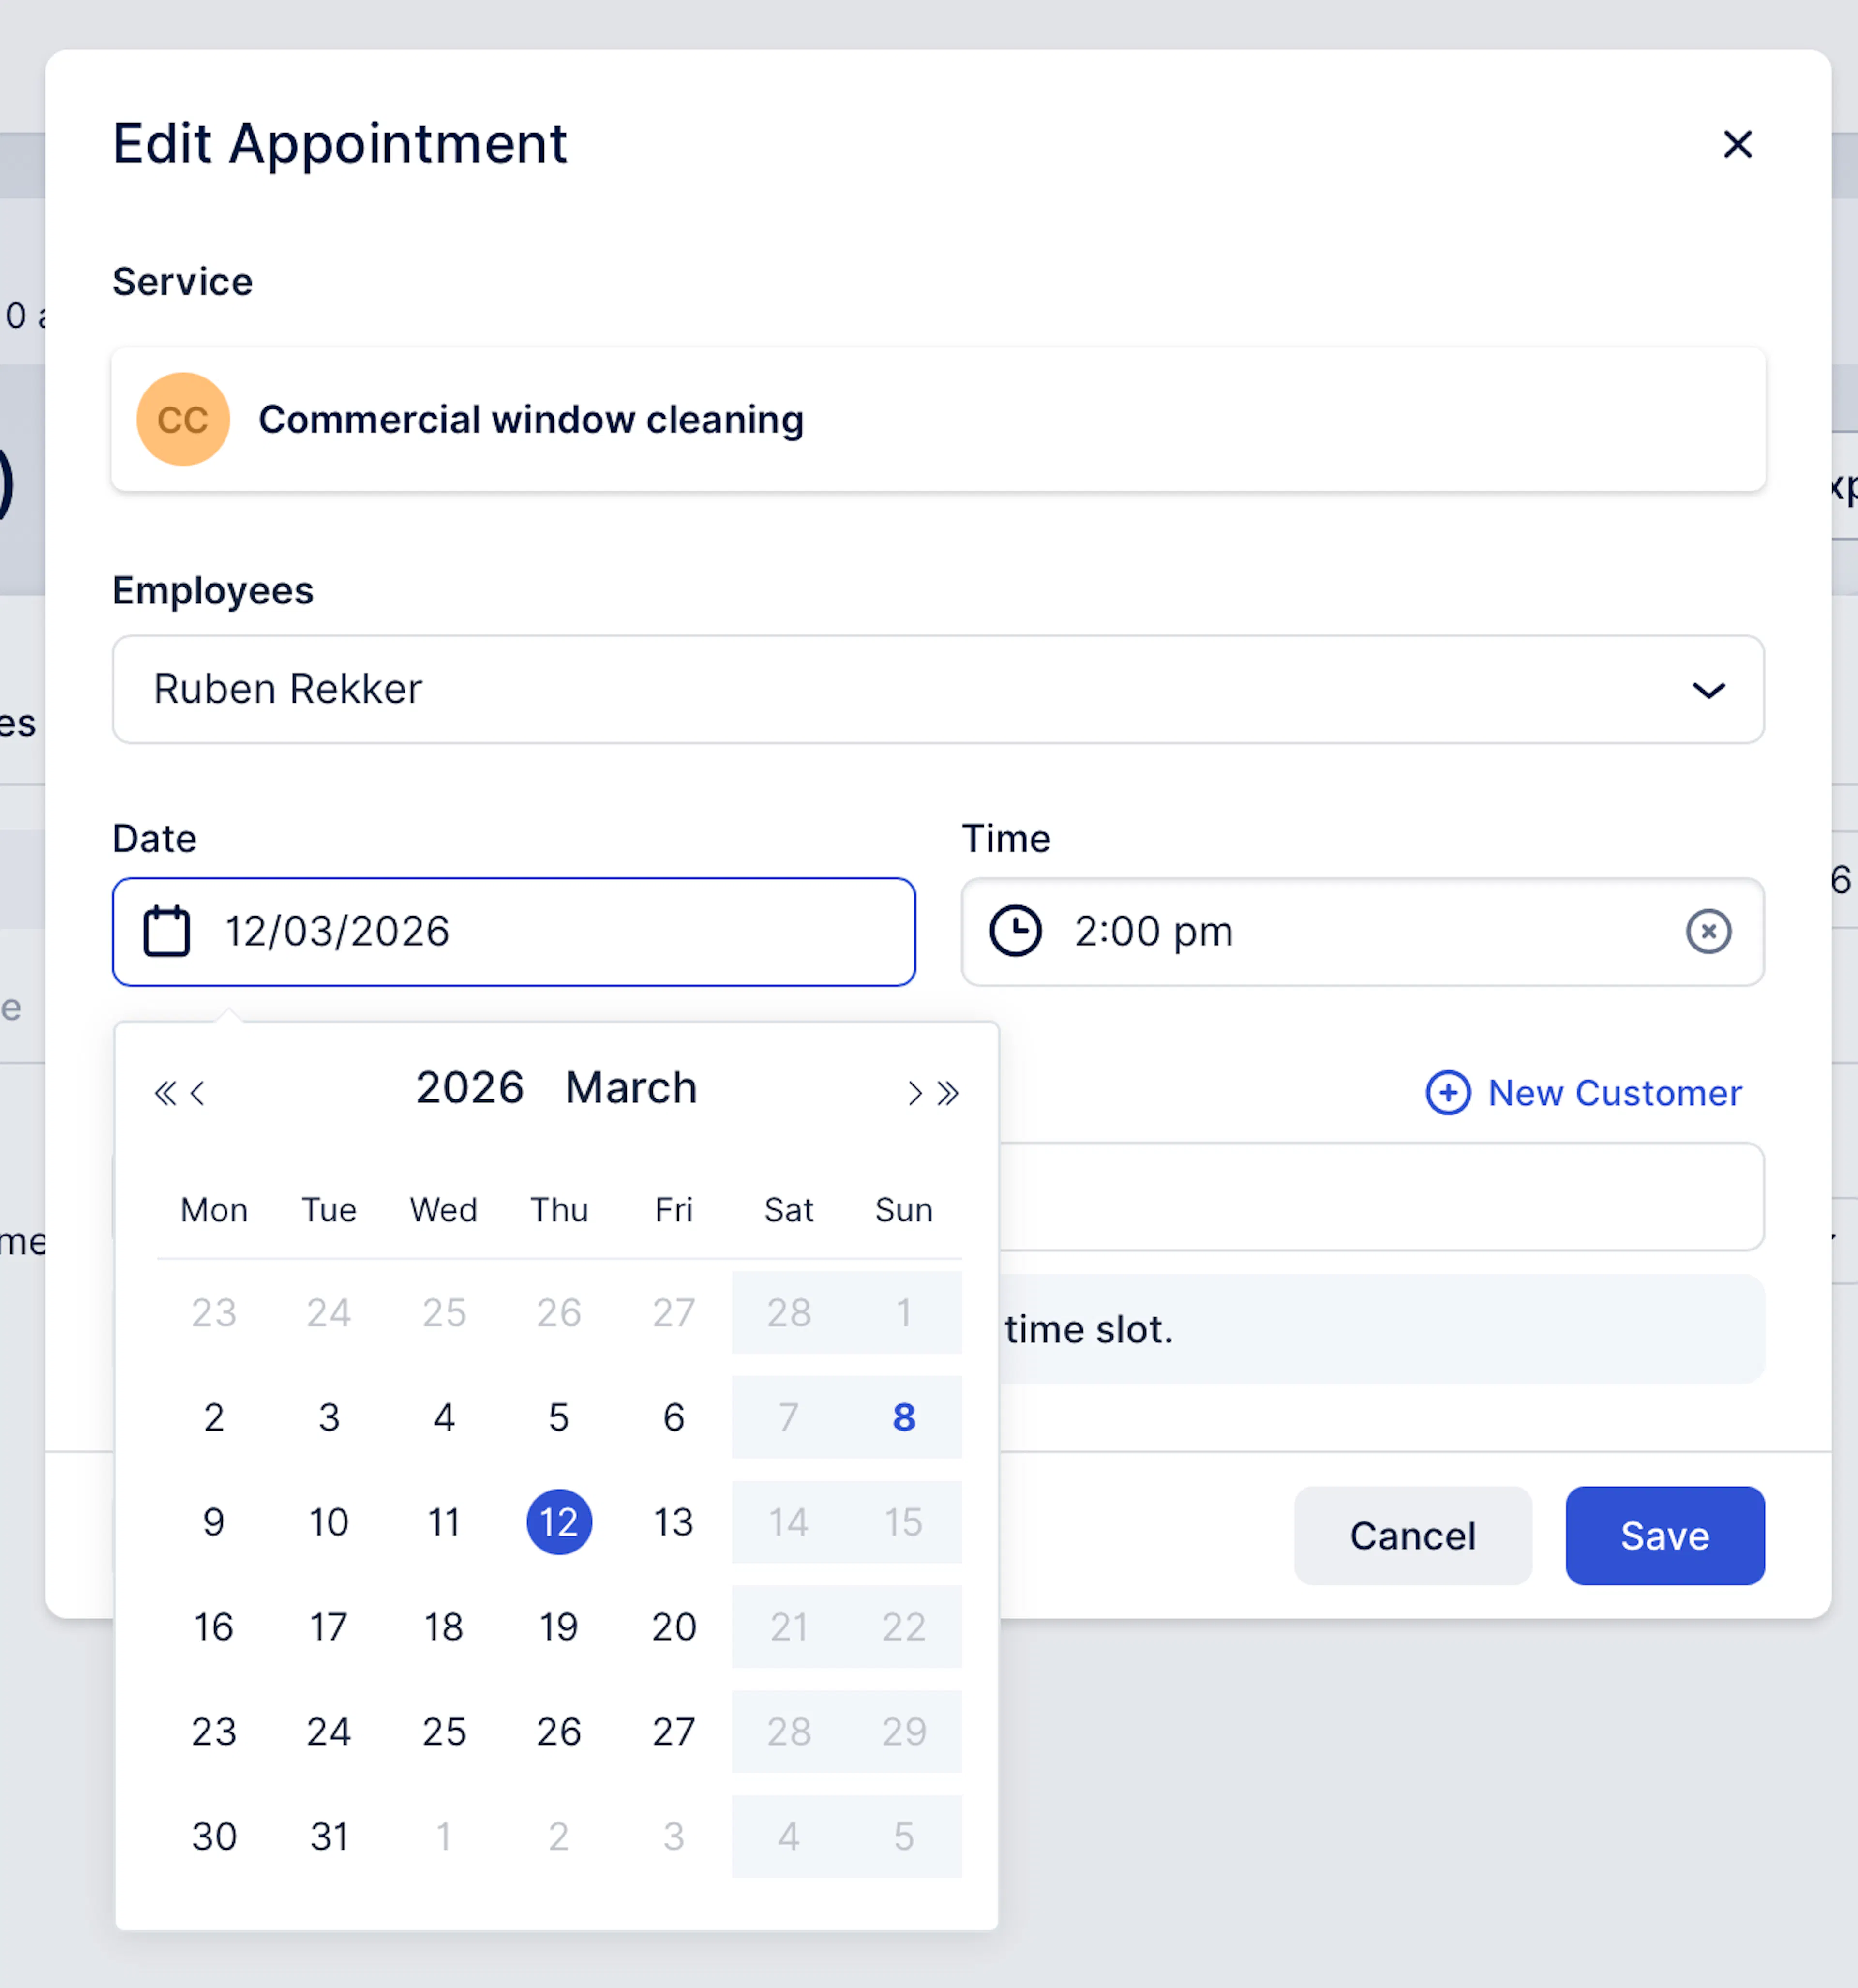
Click 'Edit appointment'
-
Choose a new date/time
-
Save changes
-
The customer receives an updated notification (based on your settings)
Cancel a booking
Use this when a booking can’t go ahead or you need to clear the slot.
Typical flow
-
Log into your OnBooq Portal
-
Go to your Bookings module tab (from left side menu)
-
Click 'Manage Bookings' to open your booking dashboard
-
Use the credentials provided to access Booking dashboard
-
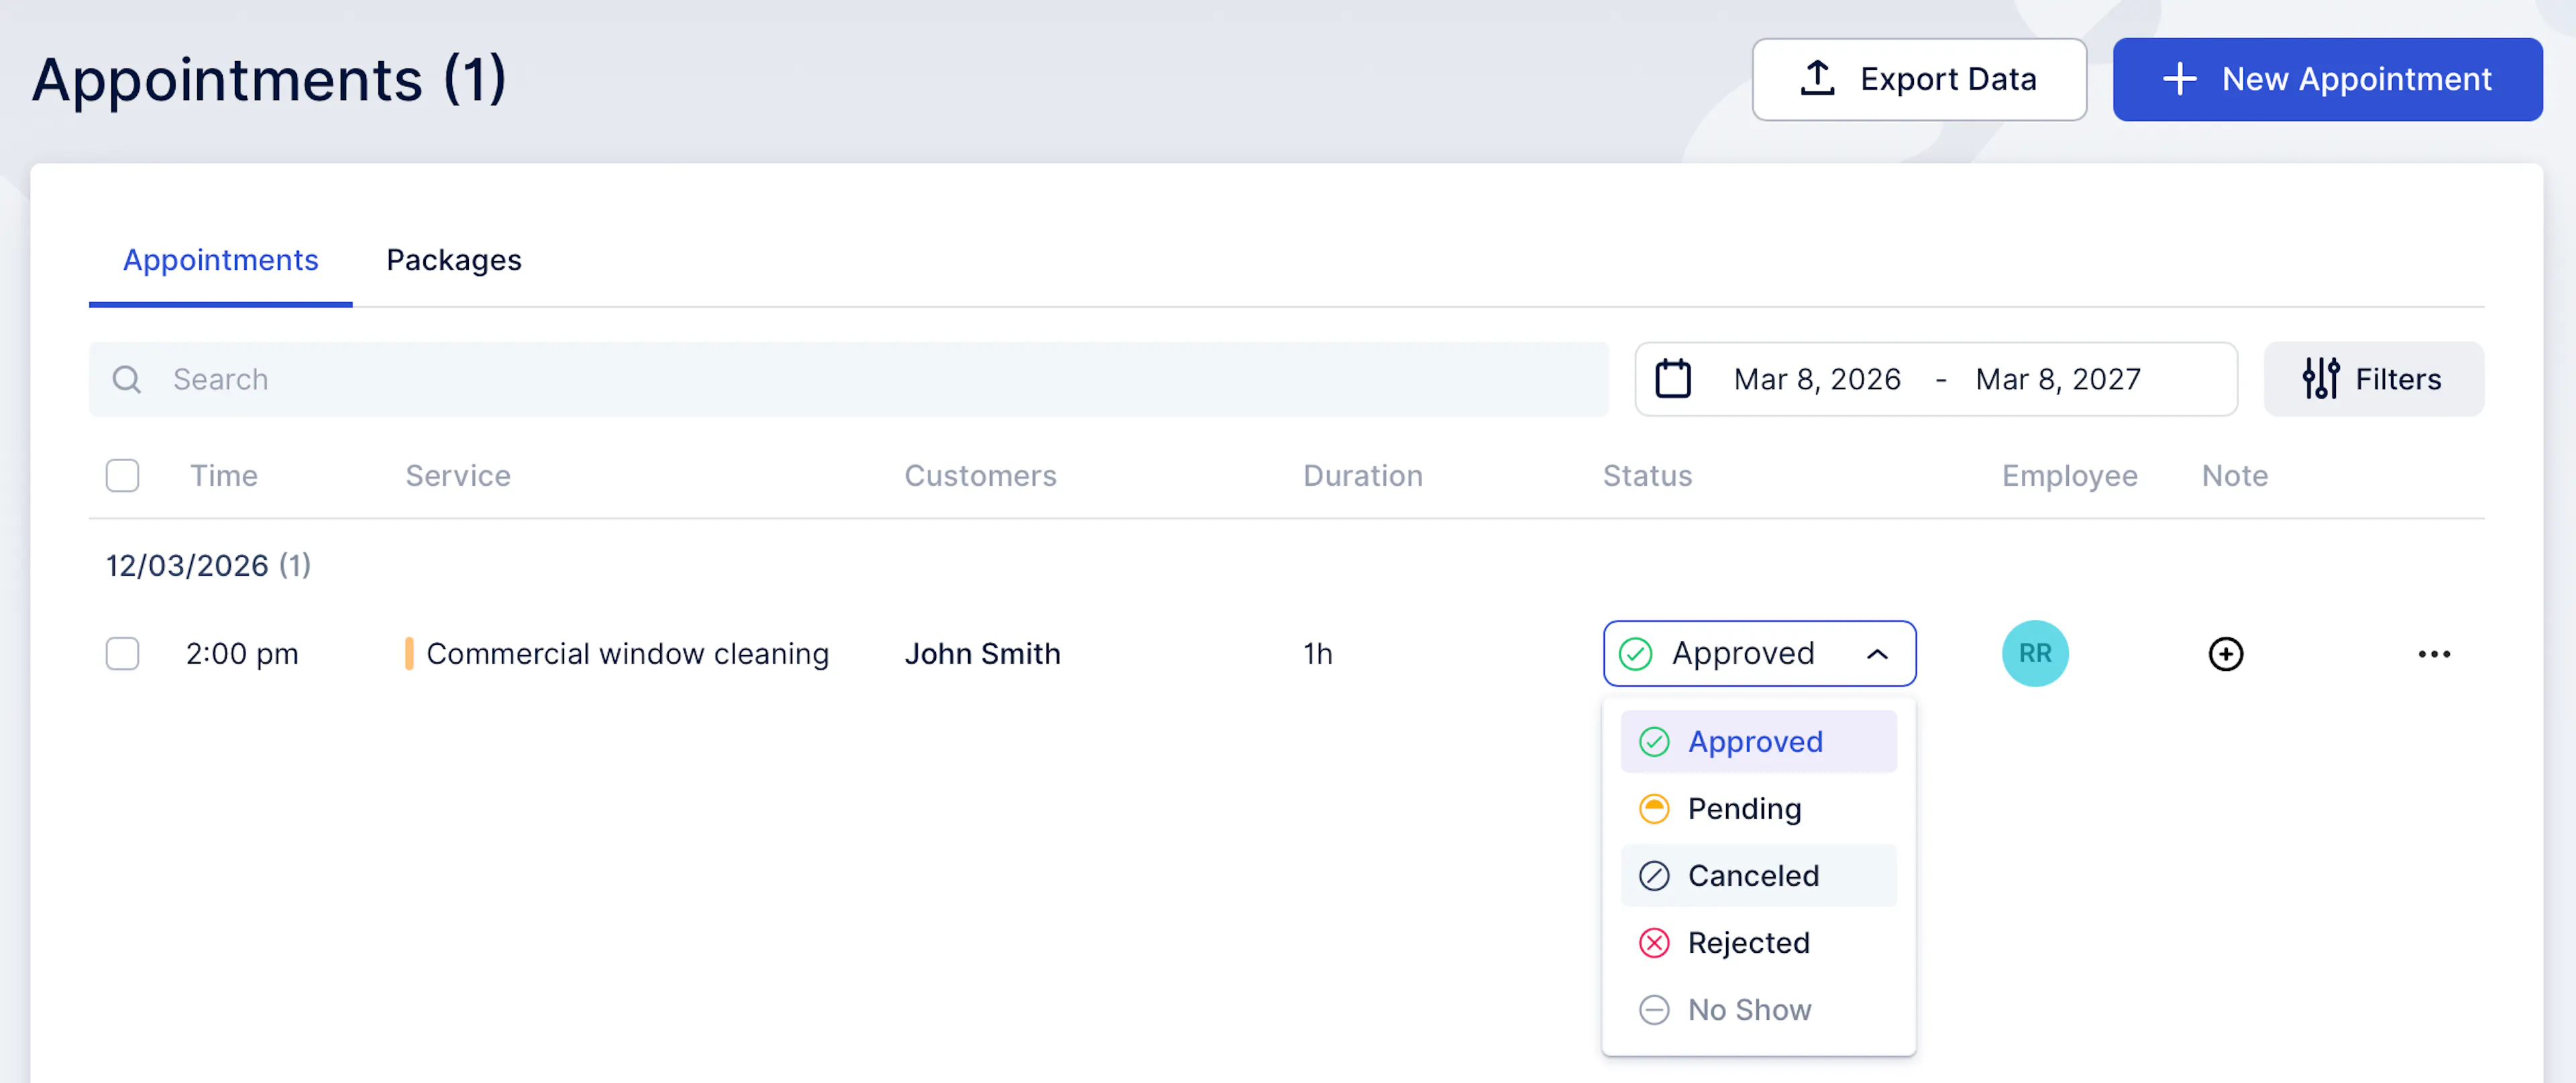
Open the booking in your dashboard, under Appointments tab
-
Change the status of the appointment to 'Canceled' to cancel the booking
-
Customer receives a cancellation/update notification (based on your settings)
What happens when you manage bookings for customers
-
Your dashboard remains the source of truth for the schedule.
-
Customers can still self-serve changes (if enabled), but your updates will override the schedule accordingly.